


How to Put On and Remove Flatback Earrings

How to Put On and Remove Flatback Earrings Guide
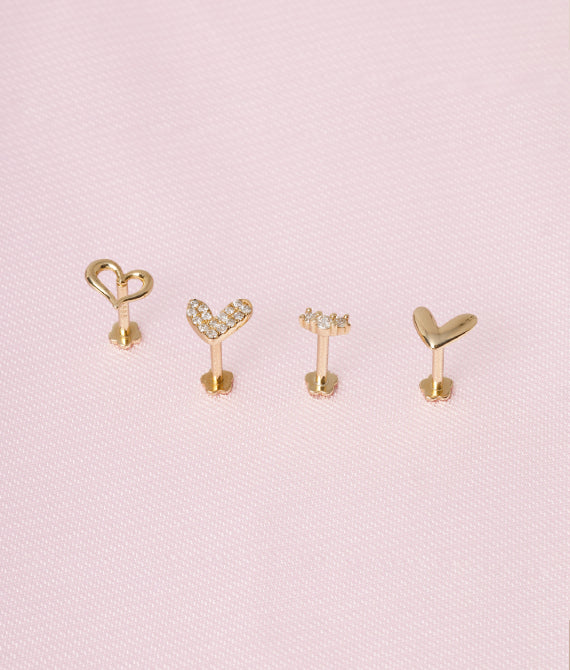
Flatback earrings are a game-changer when it comes to comfort, security, and everyday wear. They eliminate poking posts, reduce irritation, and create a sleek, minimalist look.
But if you're new to them, figuring out how to put them on or take them off can feel a little intimidating at first. Unlike traditional studs, flatbacks require a slightly different approach—and depending on whether you're using a threaded (screw-on) or push-pin (threadless) style, the technique can vary.
The good news is that with a little practice, a few simple tools, and one or two clever tricks, inserting and removing flatbacks becomes second nature. This guide will walk you through everything you need to know to make the process smooth, safe, and stress-free.
How to Put On and Remove Flatback Earrings – TL;DR
-
Sticky tack keeps the decorative front steady while you insert it into the post. It's especially helpful if you're doing it solo, have long nails, or the front is too small to grip.
-
Use a piercing taper to help guide the post smoothly for more precision in tight spots.
-
To remove, hold the post from the back. Twist off the front (threaded) or gently pull and wiggle (push-pin).
-
Always hold the post, not the full earring. Twisting the whole earring can irritate or delay healing.
How to Put On Flatback Earrings
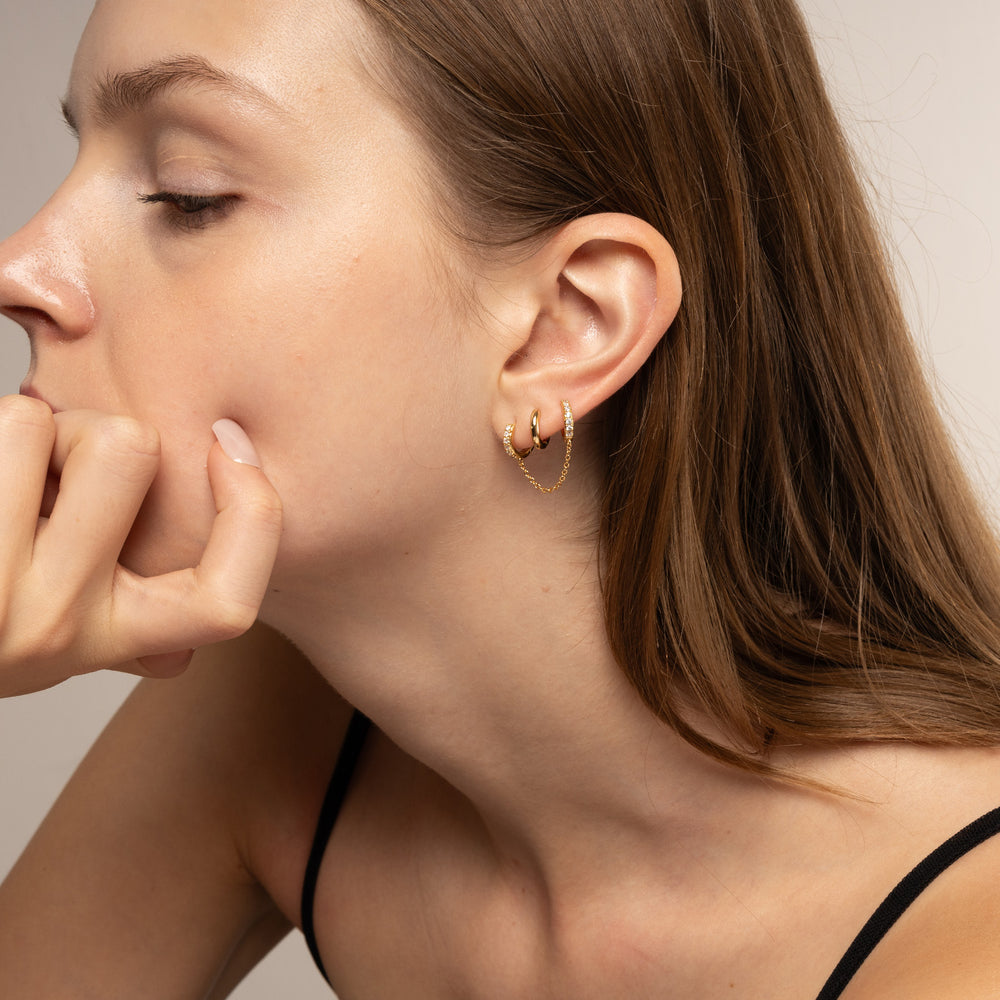
Whether you're curating a fresh ear stack, updating your everyday look, or inserting a new piece, learning the right way to insert flatback earrings makes all the difference. With the proper technique and a few simple tools, you'll avoid frustration, protect your piercings, and achieve the minimalist, secure fit that flatbacks are known for.
Tip #1: Use the Titanium Piercing Insertion Tool Set

Struggling with long nails or hard-to-reach piercings? Our Titanium Piercing Insertion Tool Set is made specifically for flatback earrings. This set includes 2 sterile piercing tapers: a straight bar and a curved bar to help you insert earrings with ease, no matter the angle. Perfect for cartilage, helix, or multi-lobe piercings, the tool helps line up the post and decorative front precisely, making flatback changes quick, clean, and painless.
Tip #2: Use a Sticky Tack Hack

Once the post is in, the next step is securing the front. If you’re inserting the flatback by yourself, especially in hard-to-reach spots like your cartilage or third lobe, using sticky tack can help you grip and guide it into place.
-
Take a small piece of sticky tack—also known as mounting putty or Blu Tack.
-
Press it gently on a flat surface to hold the decorative front of your earring upright
-
With one hand holding the post behind your ear and the other guiding the decorative front (held upright with sticky tack), gently connect the two.
-
Once aligned, screw or push the decorative front onto the post to secure it.
This simple trick can save you time, reduce frustration, and make the entire process much smoother, especially if you're working with multiple piercings, hard-to-reach angles, or flatback earrings with dainty, delicate decorative fronts. It allows you to line everything up with more control and precision, so you can secure your earring without fumbling.
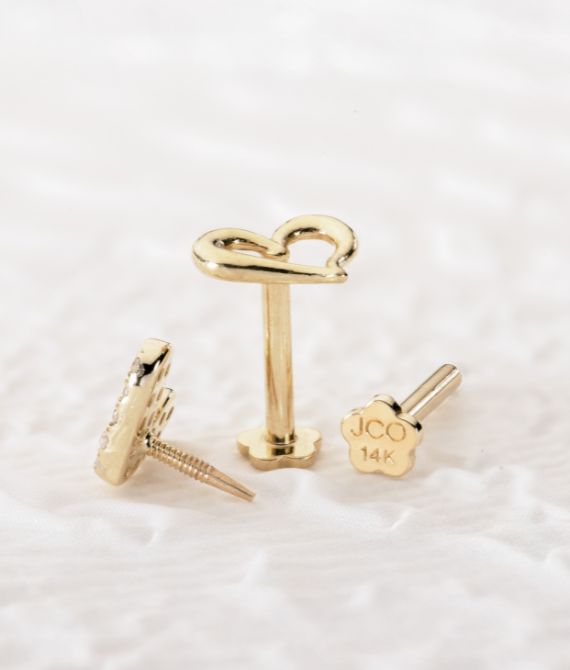
Threaded Flatback Earrings (Internally Threaded - With Screws)
-
Insert the post through your piercing from the back
-
Gently twist the front piece clockwise onto the post until secure
-
Avoid over-tightening—you want it snug, not jammed
Push Pin Flatback Earrings (Threadless - Without Screws)
-
Insert the post from the back as usual
-
Slightly bend the pin on the decorative front for a more secure fit. (Don’t overdo it; a gentle curve is enough to avoid any unwanted issues!)
-
Push the pin into the post until you feel a soft “click” or resistance, to make sure it’s locked in place.
How to Remove Flatback Earrings
Taking out flatback earrings is just as easy—if you follow the right technique.
Threaded Flatback Earrings (Internally Threaded - With Screws)
-
Hold the flat disc back firmly in place
-
Twist the front piece counter-clockwise until it loosens
-
Slide the post out gently
Push Pin Flatback Earrings (Threadless - Without Screws)
-
Hold the back securely
-
Gently pull the front piece straight off
-
You may need a small wiggle to release the tension, especially if it’s been in for a while
[Click here to know more about the different types of flatback earrings]
Final Tip: Don’t Rotate the Entire Earring
Never twist the entire earring when putting it on or taking it off. Always hold the flatback post steady and move only the front piece. Rotating the whole earring can put unnecessary pressure on your piercing channel, especially if it's new or still healing, which may lead to irritation or slow down the recovery process.
Ready to upgrade your ear game?
Read here to know why 14k solid gold flatback earrings are worth the switch.


